
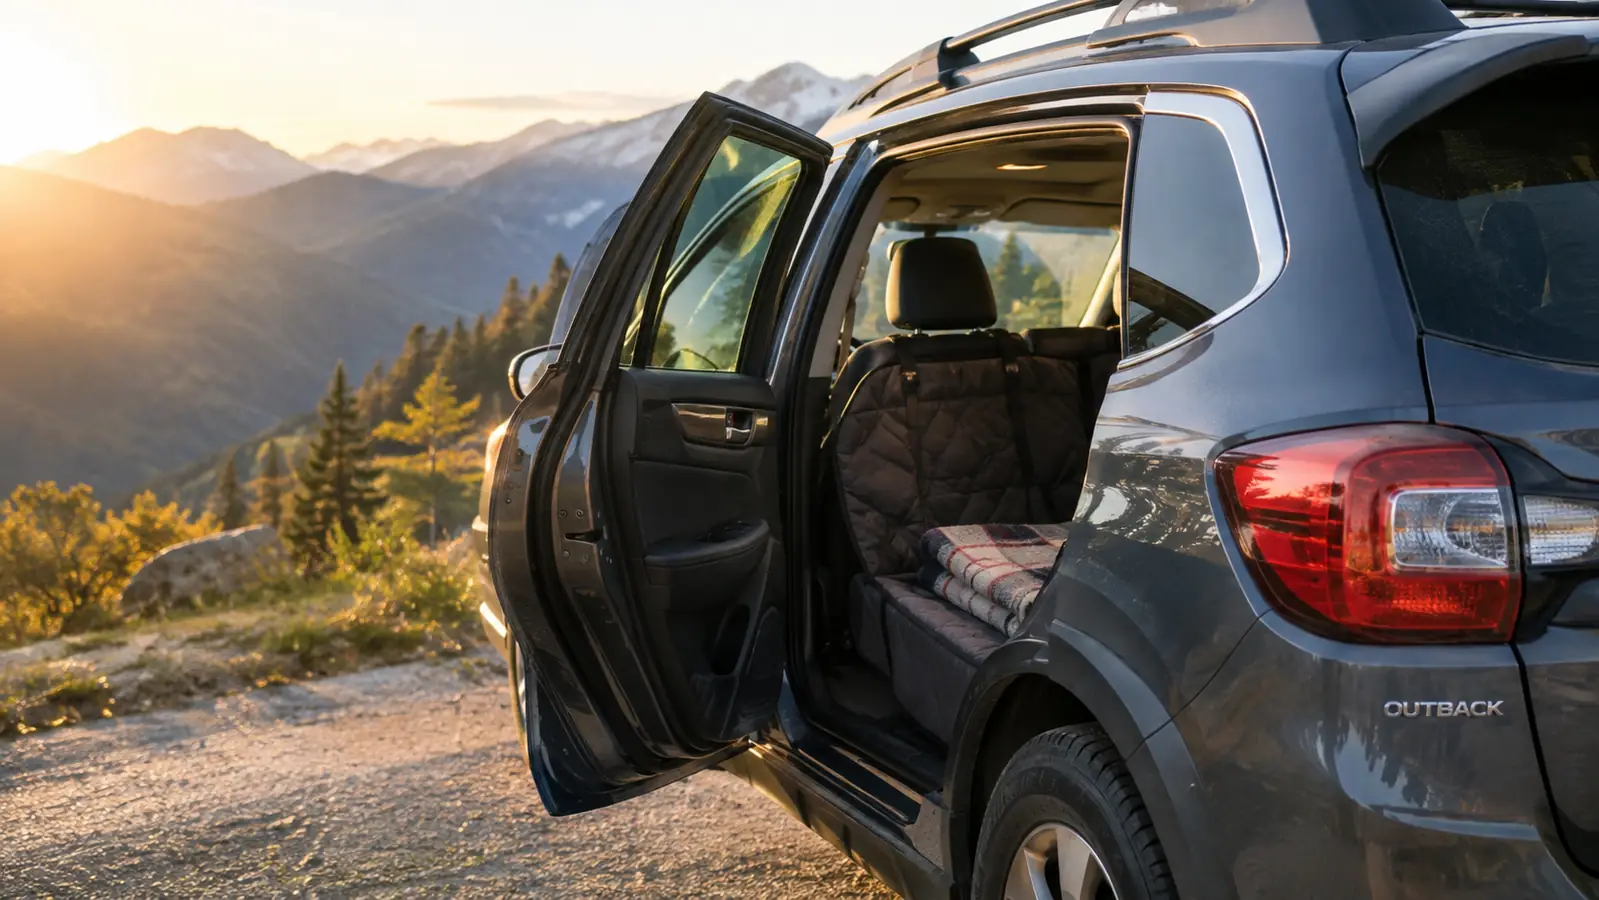
Whenever I tell people I spent a month figuring out how to buckle a dog into a car, they look at me like I grew a second head. But if you have ever felt a 45-pound dog steady herself on your shoulder while you are doing 70 on the interstate, you understand completely. That was Maple, our 6-year-old Australian Shepherd mix, about a year into our retirement travels with Ron. We live in Asheville, and we spend a good part of each year in our Subaru Outback with Maple in the back seat. The first few trips were a mess, and not because Maple is a bad dog. She is a wonderful traveler once she settles. The problem was that I had no real system, just a collar and a prayer. Eventually I bought the Kurgo Enhanced Strength Tru-Fit Dog Car Harness, and once I learned how to fit it and buckle it the right way, everything changed. This is the method that has kept Maple and me sane for thousands of miles. I did not figure this out on the first try, and I am writing it down so you do not have to repeat my mistakes.
Below are the steps I use every time we leave the driveway. They are not complicated, but every single one matters. A harness only helps your dog if it is the right kind, fitted correctly, and attached to the car properly. If you skip one of those pieces, you might as well be using a collar, and that is a gamble nobody should take with a living creature. Maple is not a small dog, and a loose body in a moving car is a heavy weight to lose control of.
Skip the guesswork and get the harness that stays put
The Kurgo Tru-Fit is crash-tested, padded, and has five adjustment points, which is why it is my standard answer for anyone who travels with a dog. It takes a few minutes to fit, but once you do it right, it stays put.
Amazon Check Today's Price on Amazon →Step 1: Choose a Harness Designed for Car Rides
The first thing I learned is that a walking harness is not a driving harness. Many harnesses made for walks have a single strap across the chest and a clip on the back. They are comfortable for strolling, but they are not built to handle the force of a sudden stop. A harness that passes a real crash test has to do more than look tough. It has to spread pressure across the dog's body and keep the dog from becoming a projectile in an accident. The Kurgo Tru-Fit is one of the harnesses that goes through that testing, and you can see the difference in how it is stitched and how the straps are reinforced. A dog does not need to be huge to do real damage in a fender bender.
Look for a harness that has a strap running between the front legs, not one that pulls against the throat. The Kurgo Tru-Fit has five adjustment points, which sounds like a lot until you try to fit a dog who changes shape every time she lies down. The extra adjustment points mean you can get the fit snug without having to pull it high under her chin, and that is exactly what you want for a long drive.
I also like that the chest area of the Kurgo is padded. Not every car harness has padding there, and for a dog who leans into the belt or braces when you brake, that padding is the difference between a comfortable ride and a dog who spends the whole trip trying to squirm out of a harness that is digging into her.
Step 2: Fit It in the Kitchen, Not in the Driveway
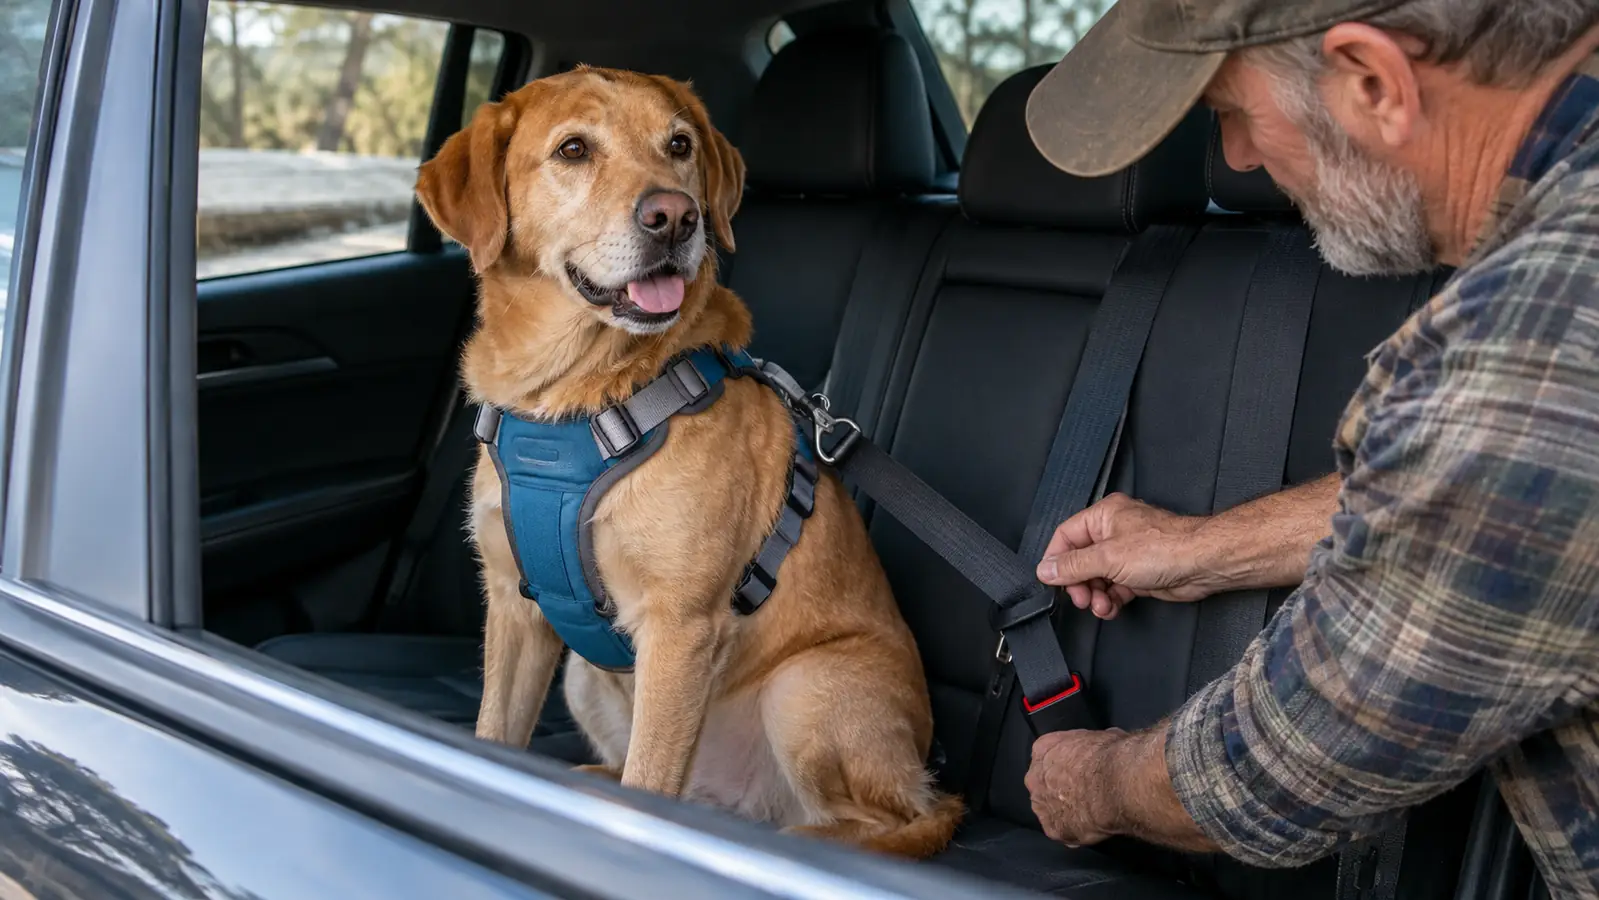
Before you ever turn the key, put the harness on your dog in a quiet place. Inside is better than outside, because distractions make it hard to tell if the harness is actually sitting right. With Maple, I start with the harness loose enough to slip over her head, then I reach between her front legs and snug the belly strap. The fit should be firm enough that I can slide two fingers under any of the straps, but not so loose that the harness rotates around her body when she shifts.
The Kurgo Tru-Fit is easier to fit than most harnesses I have tried, because each of the five adjustment points works on a different part of the body. I take a minute to set the chest strap, then the belly strap, then the back strap, and I check them all again before we get in the car. If one of them feels off, I do not drive until I sort it out.
One thing I do not do is try to fix the fit in the car. If the harness is too loose, you will only notice once the dog is buckled in and squirming. You cannot see the back of a harness while you are kneeling on the passenger seat floor, and trying to adjust it on the road is how people end up with a twisted strap and a frustrated dog. Taking two extra minutes in the kitchen saves you twenty minutes at a rest stop.
Step 3: Route the Seat Belt Through the Harness Loop
Once the harness is on, the next job is connecting it to the car's seat belt. This is where a lot of harnesses get confusing. With the Kurgo Tru-Fit, there is a reinforced loop on the back that the seat belt goes through. You pull the lap belt across, thread it through the loop, and click it into the buckle just like you would for a person. The buckle stays attached to the car, not to the dog, which means you do not have to reconnect anything each trip.
The exact way to thread the belt is printed on the harness tag, and I recommend reading it with the harness in your hand before you try it in the car. The important thing is to make sure the belt sits flat across the dog's chest and not up near the neck. If the belt rides high, a sudden stop can press it against the airway, and that is the opposite of safe.
If your car does not have a seat belt that works easily with a harness, you can use a tether that clips to a seat anchor or a cargo loop. But in our Outback, the regular belt is fine. I have used it on every long trip since we switched to the Kurgo, and it has not frayed or shifted out of place. That tells me the loop is placed where it should be.
Step 4: Give It a Good Tug Before You Back Out
The most common mistake I see is people buckling a dog in and assuming the job is done. It is not done until you test it. With Maple, I sit in the back seat with her and give the harness a firm tug. If it moves more than an inch or two, I get out and go back to the fit. This test takes thirty seconds, and it has caught more loose straps than I can count.
You also want to make sure the seat belt itself is snug enough to keep the harness from becoming a loose mass. A harness that is properly attached should keep the dog from moving more than a foot in any direction. That sounds restrictive, but in a cabin it is actually more comfortable than being thrown sideways every time you turn. It also means Maple cannot climb onto the center console when she sees a rest area. I have seen people try to drive with a dog on their lap, and it never ends well.
While you are at it, get into the habit of inspecting the harness for wear. I check the stitching once a month, especially at the point where the seat belt passes through the loop. If you are using a harness that has been through the washing machine a few times, pay attention to the hook and loop closures and any metal hardware.
Step 5: Build Up to Longer Rides
Do not expect a dog who has only ridden loose to fall in love with a harness on day one. Maple hated it for about a week. She would stand up, sit down, and look at me as if I had betrayed her. But dogs adapt to new things more quickly when you make the change small and positive. Start with a five-minute trip to the mailbox, then a run to the park, then gradually work your way up to an hour.
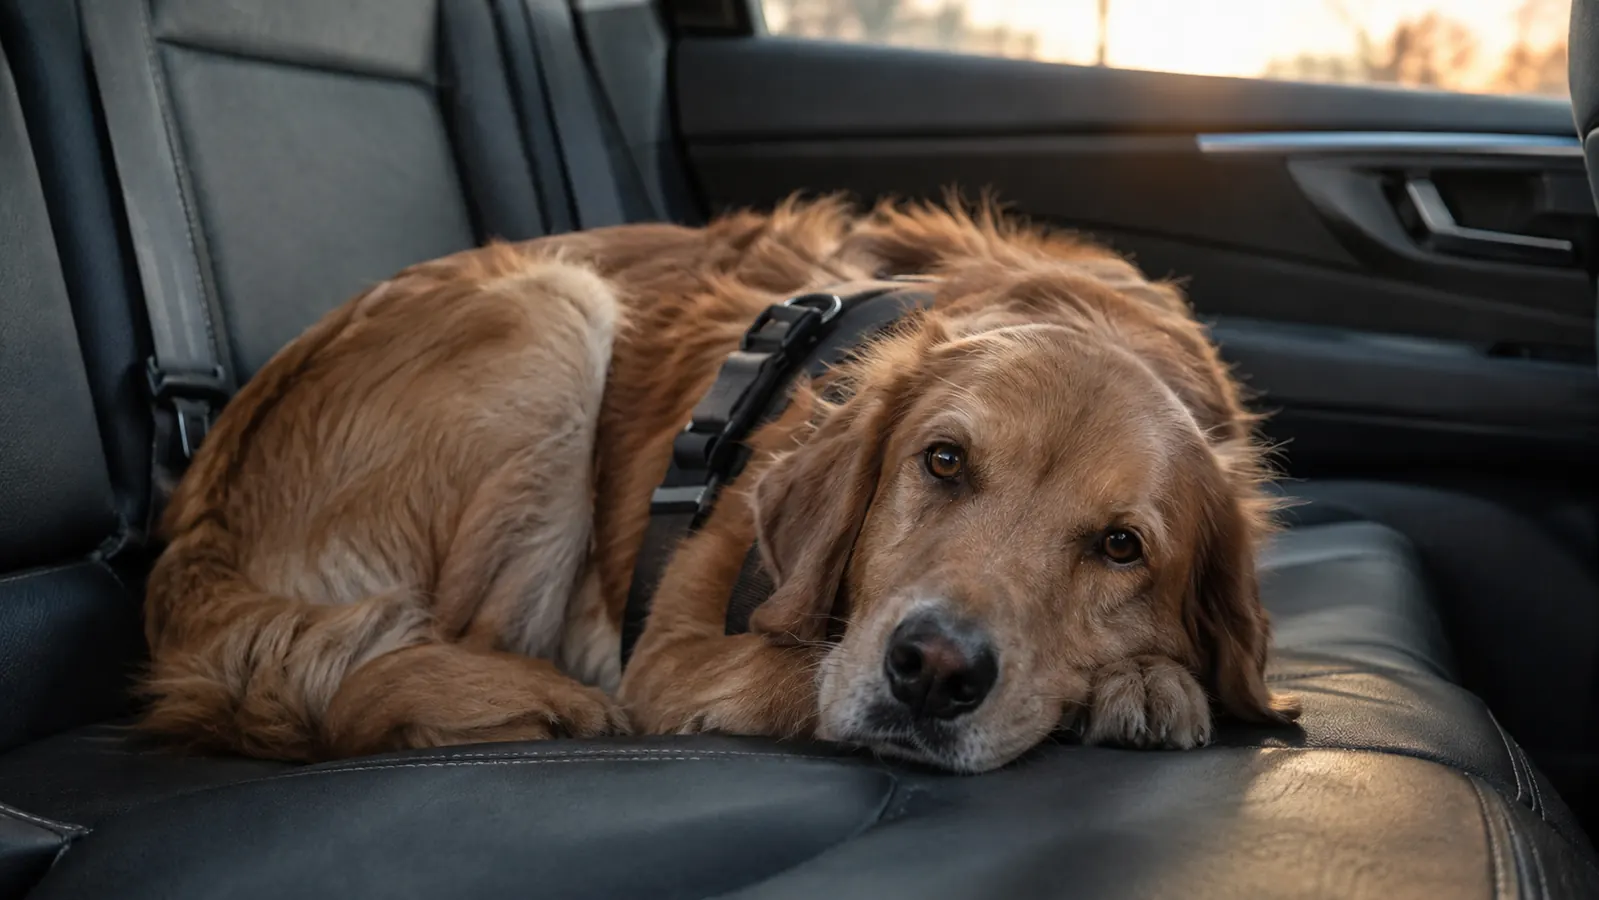
I also make the back seat feel like home. Maple has her own bed back there, and I keep it in the same spot every time. The harness does not have to be removed whenever you are not driving. In fact, leaving it partly on in the car can help your dog associate it with calm travel instead of something scary. Just make sure the straps are not too tight while she sleeps.
By the end of the first month, Maple would hop into the Outback and wait for me to buckle her in. On a recent trip from Asheville to Shenandoah, she settled in around mile ten and slept for most of it. That did not happen overnight, and it did not happen by accident. It happened because we put in the time to make the harness a normal part of our routine.
What If My Dog Hates the Harness?
It is normal for a dog to resist the first few rides. Keep sessions short, give treats when the harness goes on, and do not wait until you are on the interstate to discover a problem. If your dog is truly stressed after two weeks, take the harness off at home and let her sniff it. Ease back in with a one-minute wearing session before you even open the car door.
For Maple, the breakthrough came when I stopped making the harness a big event. I stopped apologizing and just clicked it on like I would her collar. Once she realized it was not going anywhere, she relaxed. If your dog is an anxious traveler, talk to your vet about training support, but do not give up on a properly fitted harness because of one bad afternoon.
What Else Helps
Beyond the harness itself, a few small habits make every car ride safer. I always lock the doors from inside before I back out, because a dog can reach the latch. I keep a spare leash clipped to the harness rather than around the dog's neck, where it can catch on something. And I put a towel over the seat so the harness does not slide on the leather. I also keep a small bag with water, a travel bowl, and a first aid kit in the back, because a dog who is comfortable on a two-hour trip is ready for a six-hour one. The biggest thing, though, is remembering that the harness is only as good as whether you put it on. If it is sitting in the trunk, it is not protecting anyone.
A harness only works if it fits before you back out of the driveway.
Make every drive a safe one
The Kurgo Tru-Fit is the harness I trust for our long road trips. It is crash-tested, easy to fit, and once you learn the steps above, it becomes second nature. Check today's price on Amazon and get one before your next trip.
Amazon Check Today's Price on Amazon →